
Introduction to Starbucks Cake Pops
If you’ve ever visited Starbucks, you’ve probably noticed their delightful little cake pops. These bite-sized treats are perfect for satisfying your sweet tooth without overindulging. But did you know you can make these delicious cake pops at home? Yes, you can! This guide will take you through the entire process, from preparing the cake base to decorating your cake pops like a pro. Let’s get started!
What Makes Starbucks Cake Pops Special?
Starbucks cake pops are not just any ordinary cake pops. They have a perfect balance of moist cake and creamy frosting, all coated in a delightful candy shell. The texture is soft and rich, and they come in a variety of flavors to suit every palate. Plus, they’re just so cute! Whether you’re making them for a party, a gift, or just a treat for yourself, Starbucks-style cake pops are always a hit.
Ingredients Needed for Starbucks Cake Pops
Before we dive into the recipe, let’s gather all the ingredients you’ll need. The ingredients are simple, and you might already have most of them in your pantry.
Essential Ingredients
Here’s a list of the essential ingredients for your cake pops:
- Cake Mix: You can use any flavor of cake mix you prefer. Vanilla and chocolate are classic choices.
- Frosting: Store-bought frosting works perfectly, or you can make your own.
- Candy Melts: These will be used to coat the cake pops. Choose any color you like.
- Vegetable Oil: To thin out the candy melts if needed.
- Lollipop Sticks: Essential for creating the classic cake pop look.
Optional Ingredients for Variations
To personalize your cake pops, consider these optional ingredients:
- Sprinkles: Add a pop of color and texture.
- Crushed Nuts: For a crunchy exterior.
- Edible Glitter: To make your cake pops sparkle.
- Flavor Extracts: Add a hint of almond, lemon, or mint to your frosting for a unique twist.
Step-by-Step Recipe for Starbucks Cake Pops

Now that we have our ingredients ready, let’s get to the fun part – making the cake pops!
Preparing the Cake Base
- Bake the Cake: Start by baking the cake according to the package instructions. Use a 9×13-inch baking pan for best results. Once baked, let the cake cool completely.
- Crumble the Cake: Once the cake is cool, use your hands to crumble it into fine crumbs. You can also use a food processor for this step if you prefer.
Making the Frosting
While the cake is cooling, you can prepare the frosting if you’re making it from scratch. Here’s a simple recipe:
- Ingredients:
- 1/2 cup unsalted butter, softened
- 2 cups powdered sugar
- 1 teaspoon vanilla extract
- 2-3 tablespoons milk
- Instructions:
- Beat the Butter: In a large bowl, beat the softened butter until creamy.
- Add Powdered Sugar: Gradually add the powdered sugar, beating until well combined.
- Add Vanilla and Milk: Mix in the vanilla extract and enough milk to achieve a smooth, spreadable consistency.
Combining Cake and Frosting
- Mix Cake and Frosting: In a large bowl, combine the crumbled cake and a small amount of frosting. Start with a few tablespoons of frosting and mix well. Add more frosting as needed until the mixture holds together but is not too wet.
- Test the Mixture: Take a small amount of the mixture and roll it into a ball. If it holds its shape without falling apart, it’s ready.
Shaping the Cake Pops
- Roll into Balls: Use a small cookie scoop or your hands to roll the cake mixture into 1-inch balls. Place the balls on a baking sheet lined with parchment paper.
- Chill the Cake Balls: Refrigerate the cake balls for at least 2 hours, or until they are firm. You can also freeze them for about 30 minutes to speed up the process.
Inserting the Sticks
- Prepare the Candy Melts: Melt a small amount of the candy melts in the microwave according to the package instructions.
- Dip the Sticks: Dip the tip of each lollipop stick into the melted candy, then insert the stick about halfway into each cake ball. This helps secure the stick in the cake ball.
Chilling the Cake Pops
Place the cake pops back in the refrigerator to chill for another 30 minutes. This ensures that the sticks are securely attached and the cake pops are firm enough for dipping.
“Patience is key when making cake pops. Chilling them properly helps achieve that perfect Starbucks-style texture and prevents them from falling apart.”
Coating the Cake Pops
- Melt the Candy Coating: Melt the remaining candy melts in a microwave-safe bowl. If the coating is too thick, add a teaspoon of vegetable oil to thin it out.
- Dip the Cake Pops: Hold each cake pop by the stick and dip it into the melted candy coating. Gently tap off any excess coating.
Decorating the Cake Pops
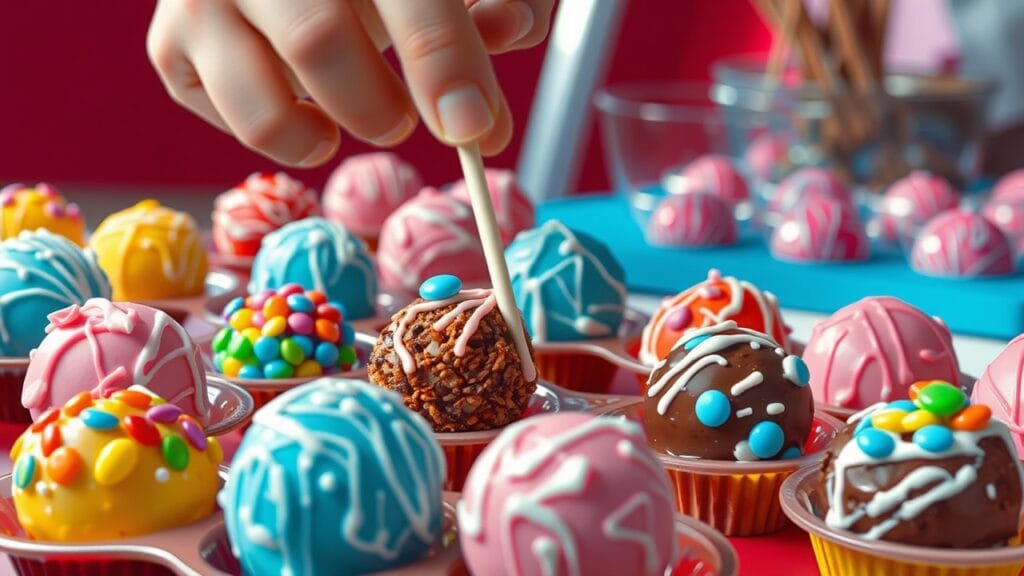
- Add Decorations: Before the coating sets, add sprinkles, crushed nuts, or edible glitter to your cake pops.
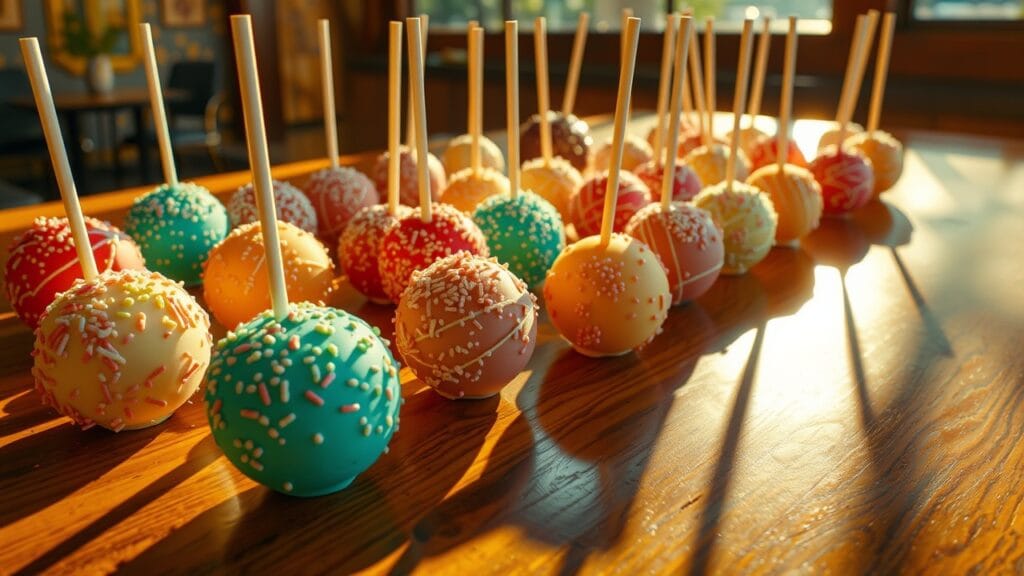
- Let Them Set: Place the decorated cake pops in a styrofoam block or a cake pop stand to set. Allow the coating to harden completely.
Common Problems and Solutions
Even with the best recipes, things can sometimes go wrong in the kitchen. But don’t worry! Here are some common issues you might encounter while making Starbucks cake pops and how to fix them.
Cake Pops Falling Apart
Problem: Your cake pops are falling apart either while shaping or dipping.
Solution: This usually happens if the cake and frosting mixture is too dry or not well-chilled. Make sure to add enough frosting to the cake crumbs so that the mixture holds together well. Also, ensure that the cake balls are properly chilled before inserting the sticks and dipping them in the coating.
Coating Issues
Problem: The coating is either too thick, too thin, or not sticking properly.
Solution: If the coating is too thick, add a teaspoon of vegetable oil to thin it out. If it’s too thin, melt more candy melts to thicken it. Make sure the cake pops are well-chilled before dipping to ensure the coating sticks properly. If necessary, double dip the cake pops for a smoother finish.
Sticks Not Staying in Place
Problem: The sticks are not staying in the cake pops or they slide out during dipping.
Solution: Dip the tip of each stick into the melted coating before inserting it into the cake balls. This acts as glue and helps the sticks stay in place. Also, make sure the cake pops are properly chilled after inserting the sticks and before dipping.
Tips and Tricks for Perfect Cake Pops
Creating the perfect Starbucks-style cake pops requires some insider tips and tricks. Here are some to help you achieve the best results.
Achieving the Right Consistency
The right consistency of the cake and frosting mixture is key to perfect cake pops. It should be moist enough to hold together but not too wet. Start with a small amount of frosting and add more as needed. If the mixture feels too dry, add a bit more frosting. If it’s too wet, add more cake crumbs.
Best Tools and Equipment
Having the right tools can make the cake pop-making process much easier. Here are some essential tools:
- Cookie Scoop: For evenly sized cake balls.
- Styrofoam Block or Cake Pop Stand: To hold the cake pops while they set.
- Microwave-Safe Bowls: For melting the candy coating.
- Parchment Paper: To line the baking sheet and prevent sticking.
Variations and Customizations
Why stick to just one version of cake pops when you can try so many delicious variations? Here are some ideas to get you started.
Flavor Variations
- Red Velvet Cake Pops: Use red velvet cake mix and cream cheese frosting for a rich, tangy flavor.
- Lemon Cake Pops: Use lemon cake mix and lemon-flavored frosting for a refreshing twist.
- Funfetti Cake Pops: Use funfetti cake mix and vanilla frosting for a colorful, festive treat.
Decoration Ideas
- Sprinkles: Add colorful sprinkles to your cake pops for a fun and festive look.
- Drizzle: Drizzle melted chocolate or colored candy melts over the cake pops for a decorative touch.
- Themed Decorations: Use edible decorations to match a holiday or party theme.
“Customization is the heart of creativity. Experiment with different flavors and decorations to make your cake pops truly unique.”
Storing and Serving Cake Pops
Proper storage is essential to keep your cake pops fresh and delicious. Here’s how to do it:
Proper Storage Techniques
- Room Temperature: If you plan to eat the cake pops within a few days, store them in an airtight container at room temperature.
- Refrigeration: For longer storage, you can refrigerate the cake pops. Place them in an airtight container with parchment paper between layers to prevent sticking.
- Freezing: Cake pops can be frozen for up to three months. Wrap them individually in plastic wrap and place them in a freezer-safe container.
Serving Suggestions
- Party Treats: Serve cake pops as fun, bite-sized desserts at parties.
- Gifts: Package cake pops in cellophane bags tied with a ribbon for a thoughtful, homemade gift.
- Dessert Table: Include cake pops as part of a dessert table spread for a beautiful presentation.
This concludes the second part of our ultimate guide to making Starbucks cake pops. We’ve covered common problems and solutions, tips and tricks for perfect cake pops, and delicious variations. In the final part, we’ll wrap up with some storage tips, serving suggestions, and frequently asked questions. Stay tuned!
Let me know when you’re ready for the final part, and I’ll continue with more exciting details about making Starbucks cake pops!
Conclusion
Recap of Key Points
Making Starbucks-style cake pops at home can be a fun and rewarding experience. From gathering the right ingredients to mastering the step-by-step process, you now have all the knowledge needed to create these delightful treats. We’ve also discussed common problems and their solutions, shared helpful tips and tricks, and explored different variations to try.
Encouragement to Try the Recipe
Now that you’re equipped with all these tips and insights, it’s time to put them into practice. Making cake pops is a great way to get creative in the kitchen, and the end result is always worth it. Whether you’re making them for a special occasion or just as a fun treat for yourself, your homemade cake pops are sure to impress.
“Baking is an act of love. Share your homemade cake pops with family and friends and enjoy the joy it brings.”
Storing and Serving Cake Pops
Proper storage ensures that your cake pops remain fresh and delicious. Let’s delve into some storage techniques and serving suggestions.
Proper Storage Techniques
- Room Temperature: If you plan to eat the cake pops within a few days, store them in an airtight container at room temperature. This keeps them fresh and prevents the coating from melting or becoming sticky.
- Refrigeration: For longer storage, you can refrigerate the cake pops. Place them in an airtight container with parchment paper between layers to prevent them from sticking together. Before serving, let them come to room temperature for the best flavor and texture.
- Freezing: Cake pops can be frozen for up to three months. Wrap each cake pop individually in plastic wrap and place them in a freezer-safe container. When you’re ready to enjoy, let them thaw in the refrigerator overnight before bringing them to room temperature.
Serving Suggestions
- Party Treats: Cake pops make excellent party treats. Display them in a cake pop stand or a styrofoam block decorated to match your party theme.
- Gifts: Package cake pops in clear cellophane bags tied with a ribbon for a thoughtful, homemade gift. They are perfect for holidays, birthdays, or any special occasion.
- Dessert Table: Include cake pops as part of a dessert table spread. Their charming appearance adds a touch of whimsy and elegance to any gathering.
Frequently Asked Questions
Here are some common questions people have about making Starbucks-style cake pops and their answers:
Can I Use Store-Bought Cake Mix and Frosting?
Absolutely! Using store-bought cake mix and frosting can save time and still yield delicious results. Feel free to choose your favorite flavors and brands.
How Long Do Cake Pops Last?
When stored properly, cake pops can last for up to a week in the refrigerator and up to three months in the freezer. At room temperature, they are best enjoyed within a few days.
Can I Make Cake Pops Ahead of Time?
Yes, you can make cake pops ahead of time and store them in the refrigerator or freezer until you’re ready to serve them. If you’re planning to decorate them for a specific occasion, you can prepare the cake balls and coating in advance, then decorate them closer to the event.
This concludes our Ultimate Guide to Making Starbucks Cake Pops. I hope you found this guide engaging, informative, and inspiring. If you have any further questions or need more recipes, feel free to ask. Happy baking!
Thank you for following along. If there’s anything else you’d like to add or if you need any more assistance, just let me know!